Table of Contents
Building accessible Flutter applications is more than a technical best practice—it's a commitment to inclusivity. With over a billion people globally experiencing some form of disability, designing for accessibility ensures your app is usable by everyone. Beyond ethics, accessibility aligns with legal standards like the UN Convention on the Rights of Persons with Disabilities and can significantly boost user retention and engagement.
Why Accessibility Matters
Accessibility is not just about compliance—it’s about expanding usability to a broader audience. Inclusive apps create superior user experiences, expand market reach, and foster loyalty. Ensuring everyone, regardless of ability, can benefit from your product adds tremendous value.
Flutter: A Framework Built for Accessibility
Flutter provides robust tools to incorporate accessibility features seamlessly. But how can developers go beyond the basics to create truly inclusive experiences? Here are seven essential strategies for designing accessible applications with Flutter.
1. Plan for Accessibility from the Beginning
Start accessibility considerations early in the design phase to avoid inefficiencies and costly redesigns. Prioritizing features like semantics, color contrast, and adaptive text from the outset ensures smoother development and a more inclusive final product.
Example:
Utilize Flutter’s Semantics widgets early to align design and development teams on accessibility goals. This reduces friction later in the project.
2. Semantics Widgets for Assistive Technologies
Assistive technologies like screen readers rely on semantic information to interpret UI components. Flutter’s Semantics widget enhances accessibility by providing detailed descriptions of elements like buttons, icons, and labels.
Example:
Instead of a screen reader describing a like button as “Button 14,” you can use the Semantics widget to label it as “Like post button” and add helpful hints about the number of likes.
3. Ensure Support for Large Fonts
Flutter handles text scaling by default, but non-text elements like buttons and icons may require manual adjustments for readability.
Tip:
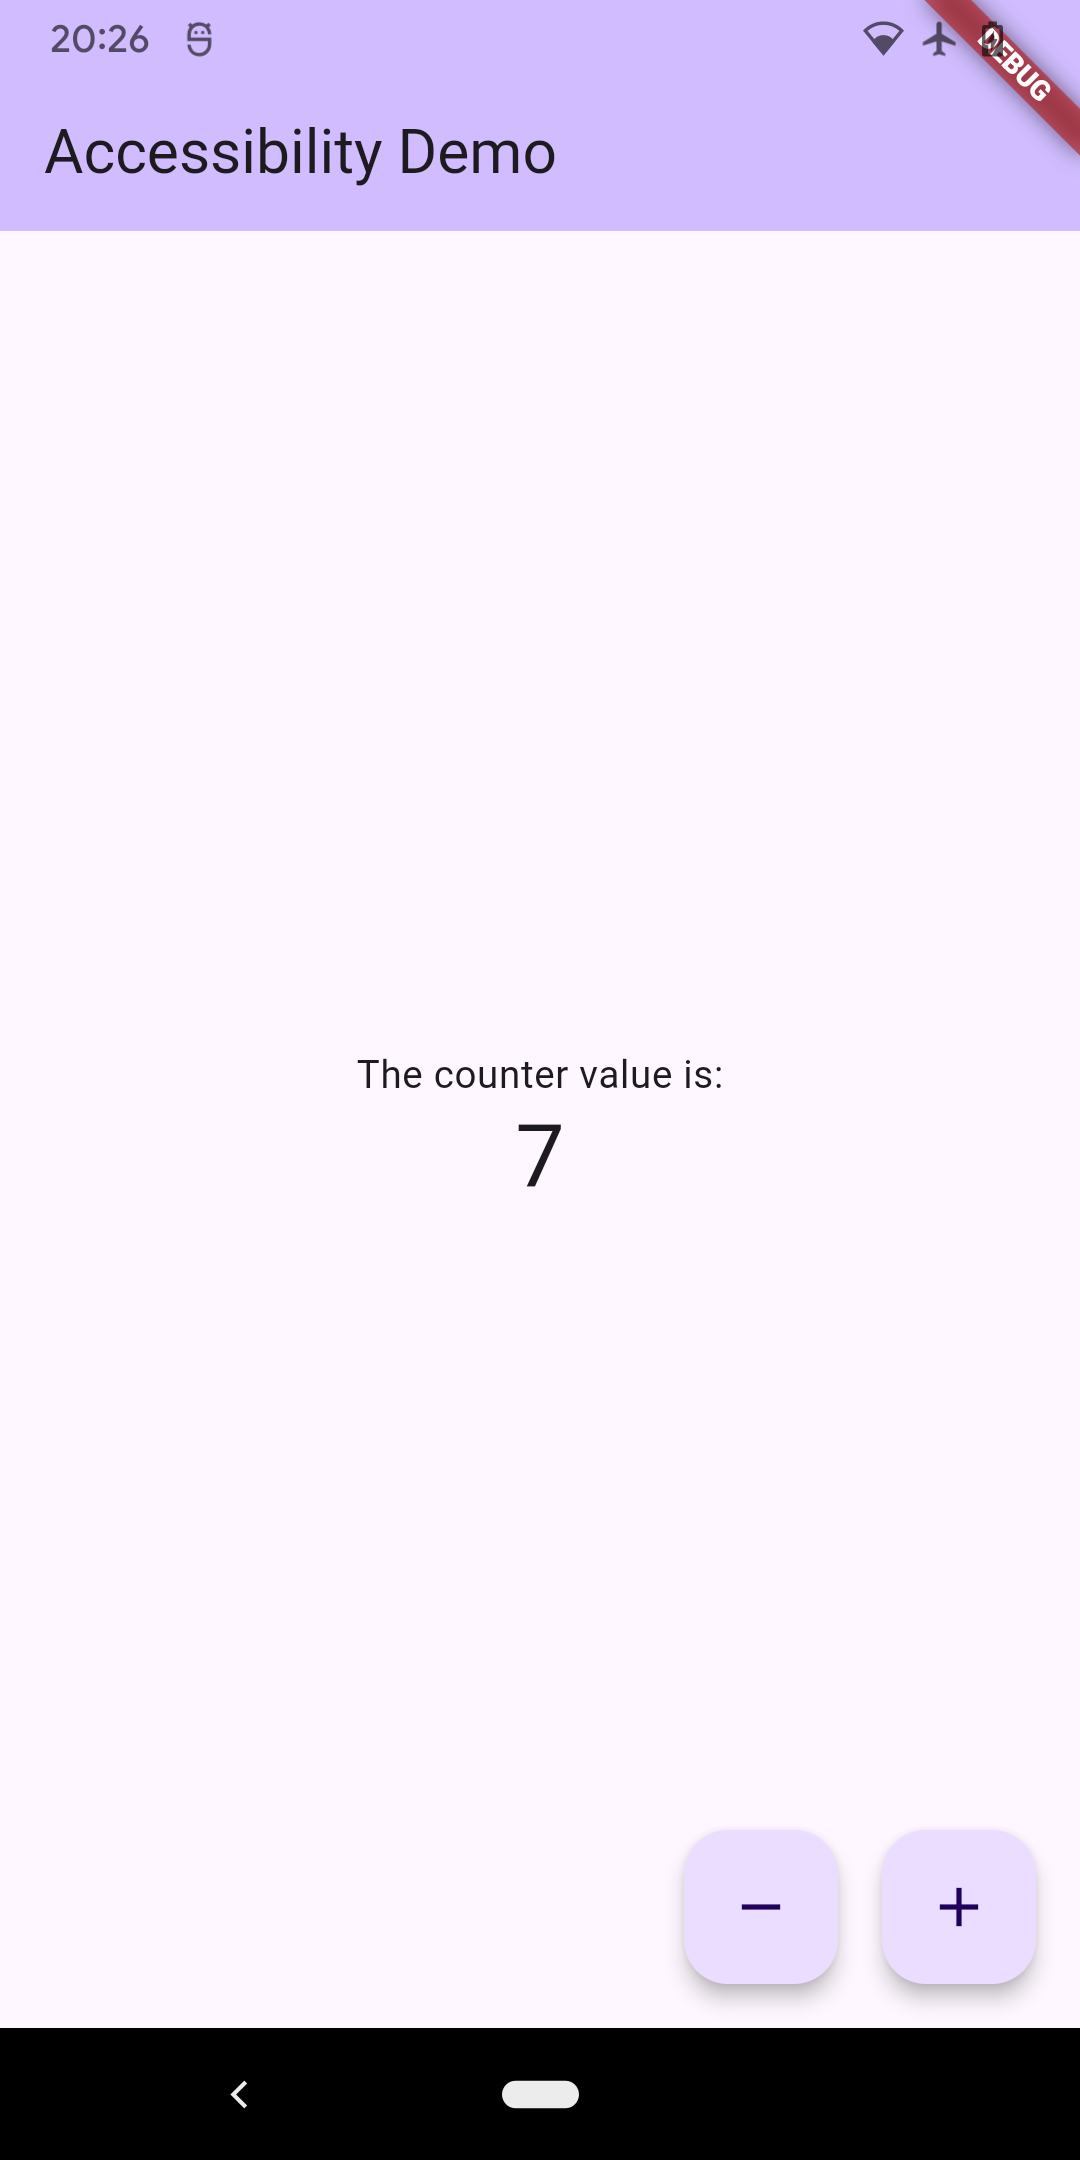
Make components responsive to text scaling settings by designing custom widgets, such as a FloatingActionButton, that dynamically adjust to font size preferences.

4. Prioritize Color Contrast
Good color contrast enables clear text readability and intuitive navigation for visually impaired users. Follow W3C standards:
- 4.5:1 contrast ratio for small text.
- 3:1 contrast ratio for larger text.
Tools:
- Use Color Contrast Analyzer or Flutter’s testing libraries to evaluate your app’s color palette.
5. Test with Screen Readers
Testing with screen readers like TalkBack (Android) and VoiceOver (iOS) helps developers identify gaps in accessibility and improve the user experience.
How-To:
- TalkBack: Navigate to Settings > Accessibility > TalkBack on Android.
- VoiceOver: Go to Settings > Accessibility > VoiceOver on iOS.
6. Debug Accessibility with Flutter’s Semantics Debugger
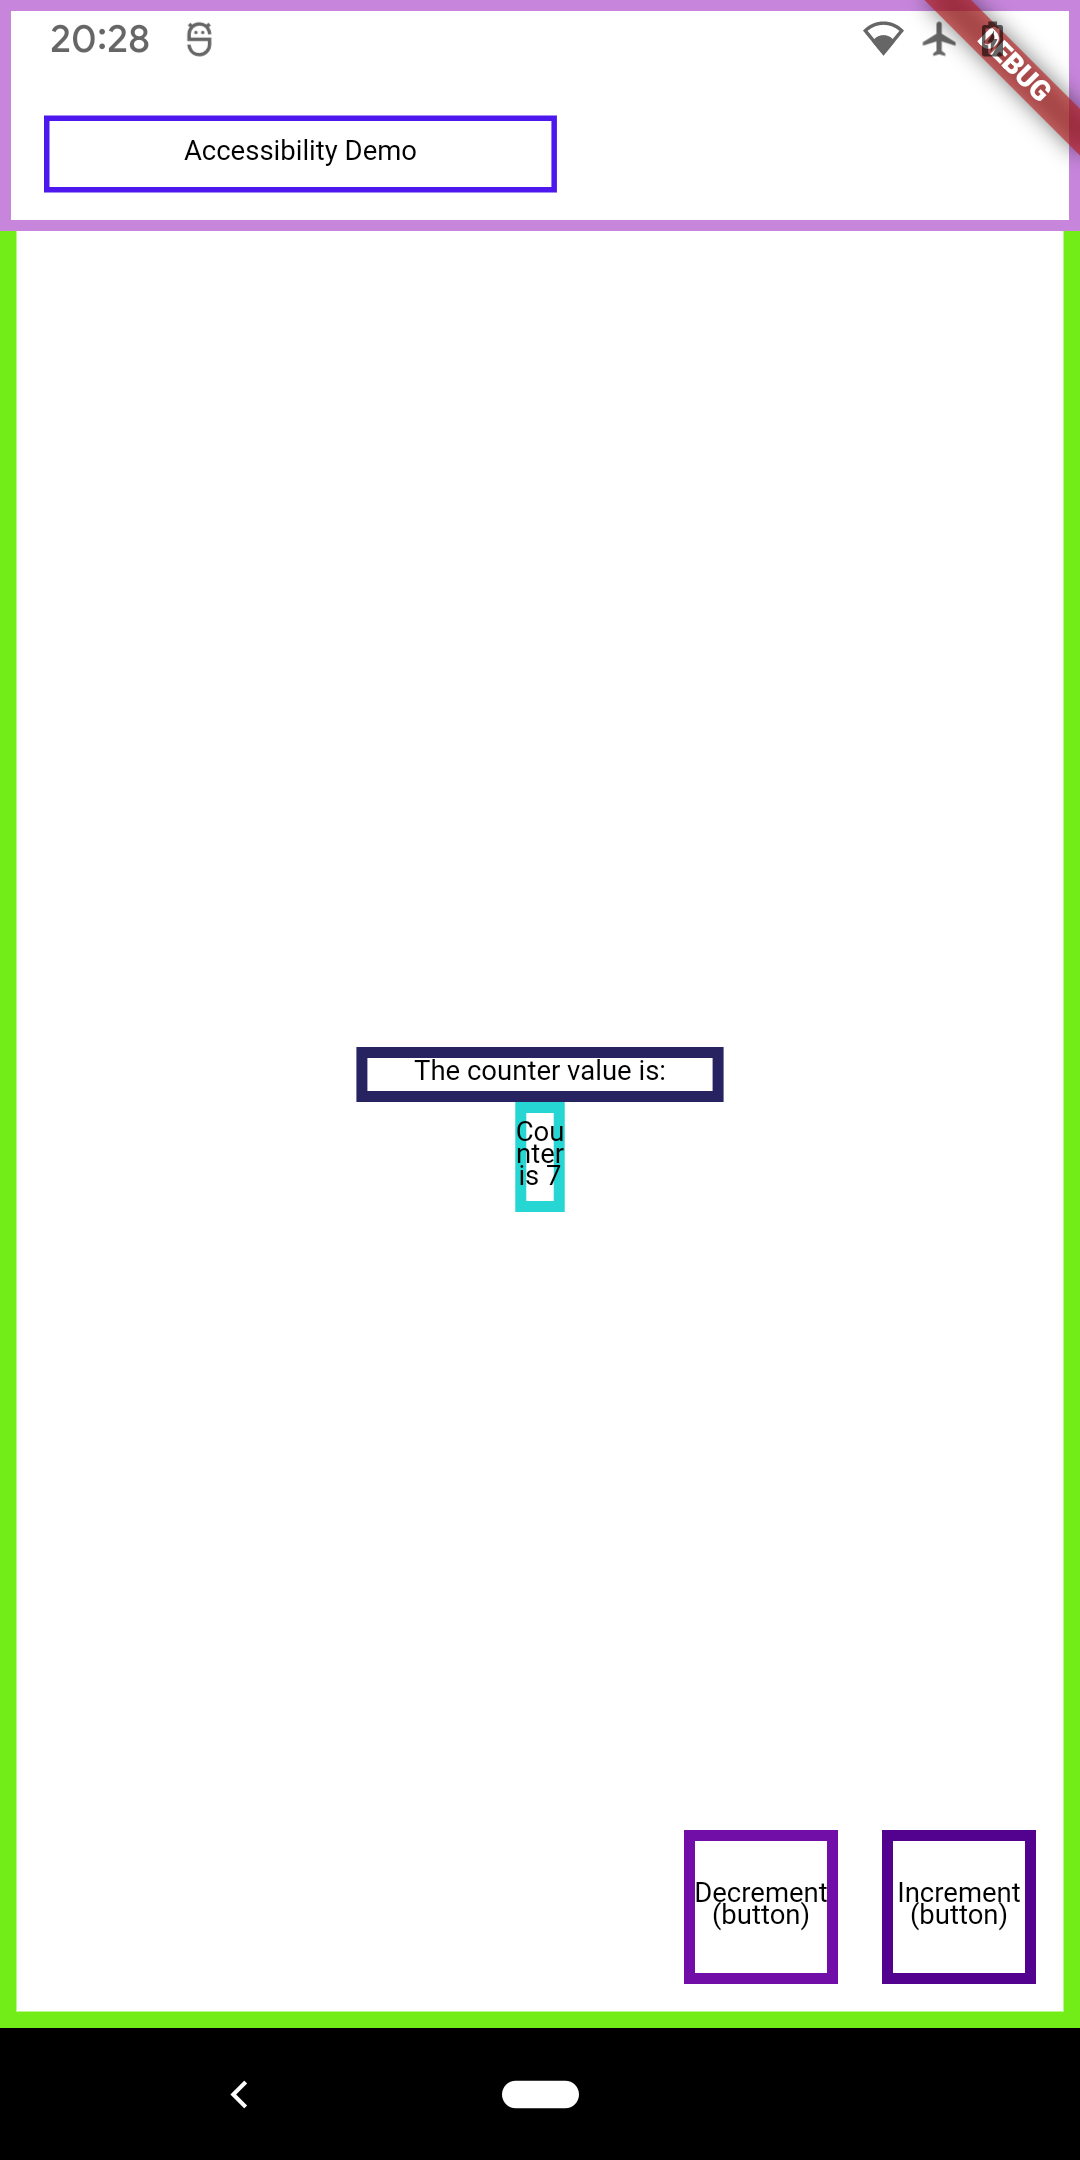
Flutter’s Semantics Debugger overlays semantic labels on your app, helping you inspect how assistive technologies interpret your UI. Address gaps early to ensure your app is accessible before release.
7. Automate Accessibility Testing
Use Flutter’s AccessibilityGuideline API to validate metrics like tap target sizes, labeling, and contrast ratios. Integrate these checks into your CI/CD pipeline to maintain accessibility as a core feature.
Tip:
Ensure buttons meet minimum size requirements, such as 48x48 pixels for Android, to provide optimal usability.


Ready to build Accessible Flutter apps?
Accessibility is more than a checklist; it’s a commitment to creating better, more inclusive user experiences. Start implementing these strategies in your Flutter development process today.
For additional insights, explore our related article: The Importance of Inclusive Design in Software Development.
Looking to create impactful, accessible applications with Flutter? Contact us and let’s make your vision a reality!


.png)


.png)